My Soap Making Process (Behind the Scenes
I’ve been making soap from scratch for 7 years, and let me tell you—she is a fickle mistress.
Heavy (I make 25 lbs at a time), hot, burny… the lye is caustic and temperamental. On a hot day, it can seize up in seconds. It demands your full attention.
And still—I wouldn’t trade the experience.
This was the very first product I learned how to make for Louloudi Skincare, and she absolutely put me through the ringer. But there’s something about always having soap around that I genuinely love… it’s worth every chaotic batch.
So I want to take you behind the scenes—because honestly, this is one of my favorite processes (even if I complain). You should see how the sauce is made.
1. Let’s Talk About Lye
One of the wildest things about soap is how it’s made.
It’s ancient—traditionally a blend of fat (usually tallow) and ash (the leftover embers from a fire). Using what remained to create something incredibly useful.
When combined, these elements create lye—a powerful substance that triggers an immediate rise in temperature and begins the transformation of two ingredients into one entirely new material.
Today, I use a lye powder that I mix with water. I also add silk to create softer, more luxurious bars.
But don’t get it twisted—it’s still dangerous.
Splashes burn. Goggles are a must. I work outside for ventilation.
I used to make lye in 50 lb batches… but honestly, it felt like keeping a potential bomb in my house.
Making Lye on my front Porch
I burn myself occasionally, but the Radiant Defense Gel (from my Eurybia Collection) works every time for quick healing.
Lye Making for Mulled Wine soap, I used frozen wine cubes
2. The Oils
Once the lye is ready, I move to the oils:
Shea butter
Cocoa butter
Sweet almond oil
Castor oil
Mango butter (and some I can’t think of off the top of my head right now)
Everything is melted and brought to the same temperature as the lye.
And this is where the real workout begins.
Running from outside to upstairs (my lab), checking temperatures over and over again until they’re within about 5 degrees of each other.
That’s how I stay skinny.
3. The Most Sensitive Step
Once the temperatures align, This is the moment.
I have to move quickly—adding superfoods, essential oils, and any actives before the mixture begins to thicken. You’re aiming for a smooth, pancake-batter texture… but it can shift fast into oatmeal. And once it does, it’s heavy, hot, hard to move—and not fun.
From there, the pour begins—and how I pour depends entirely on the mold.
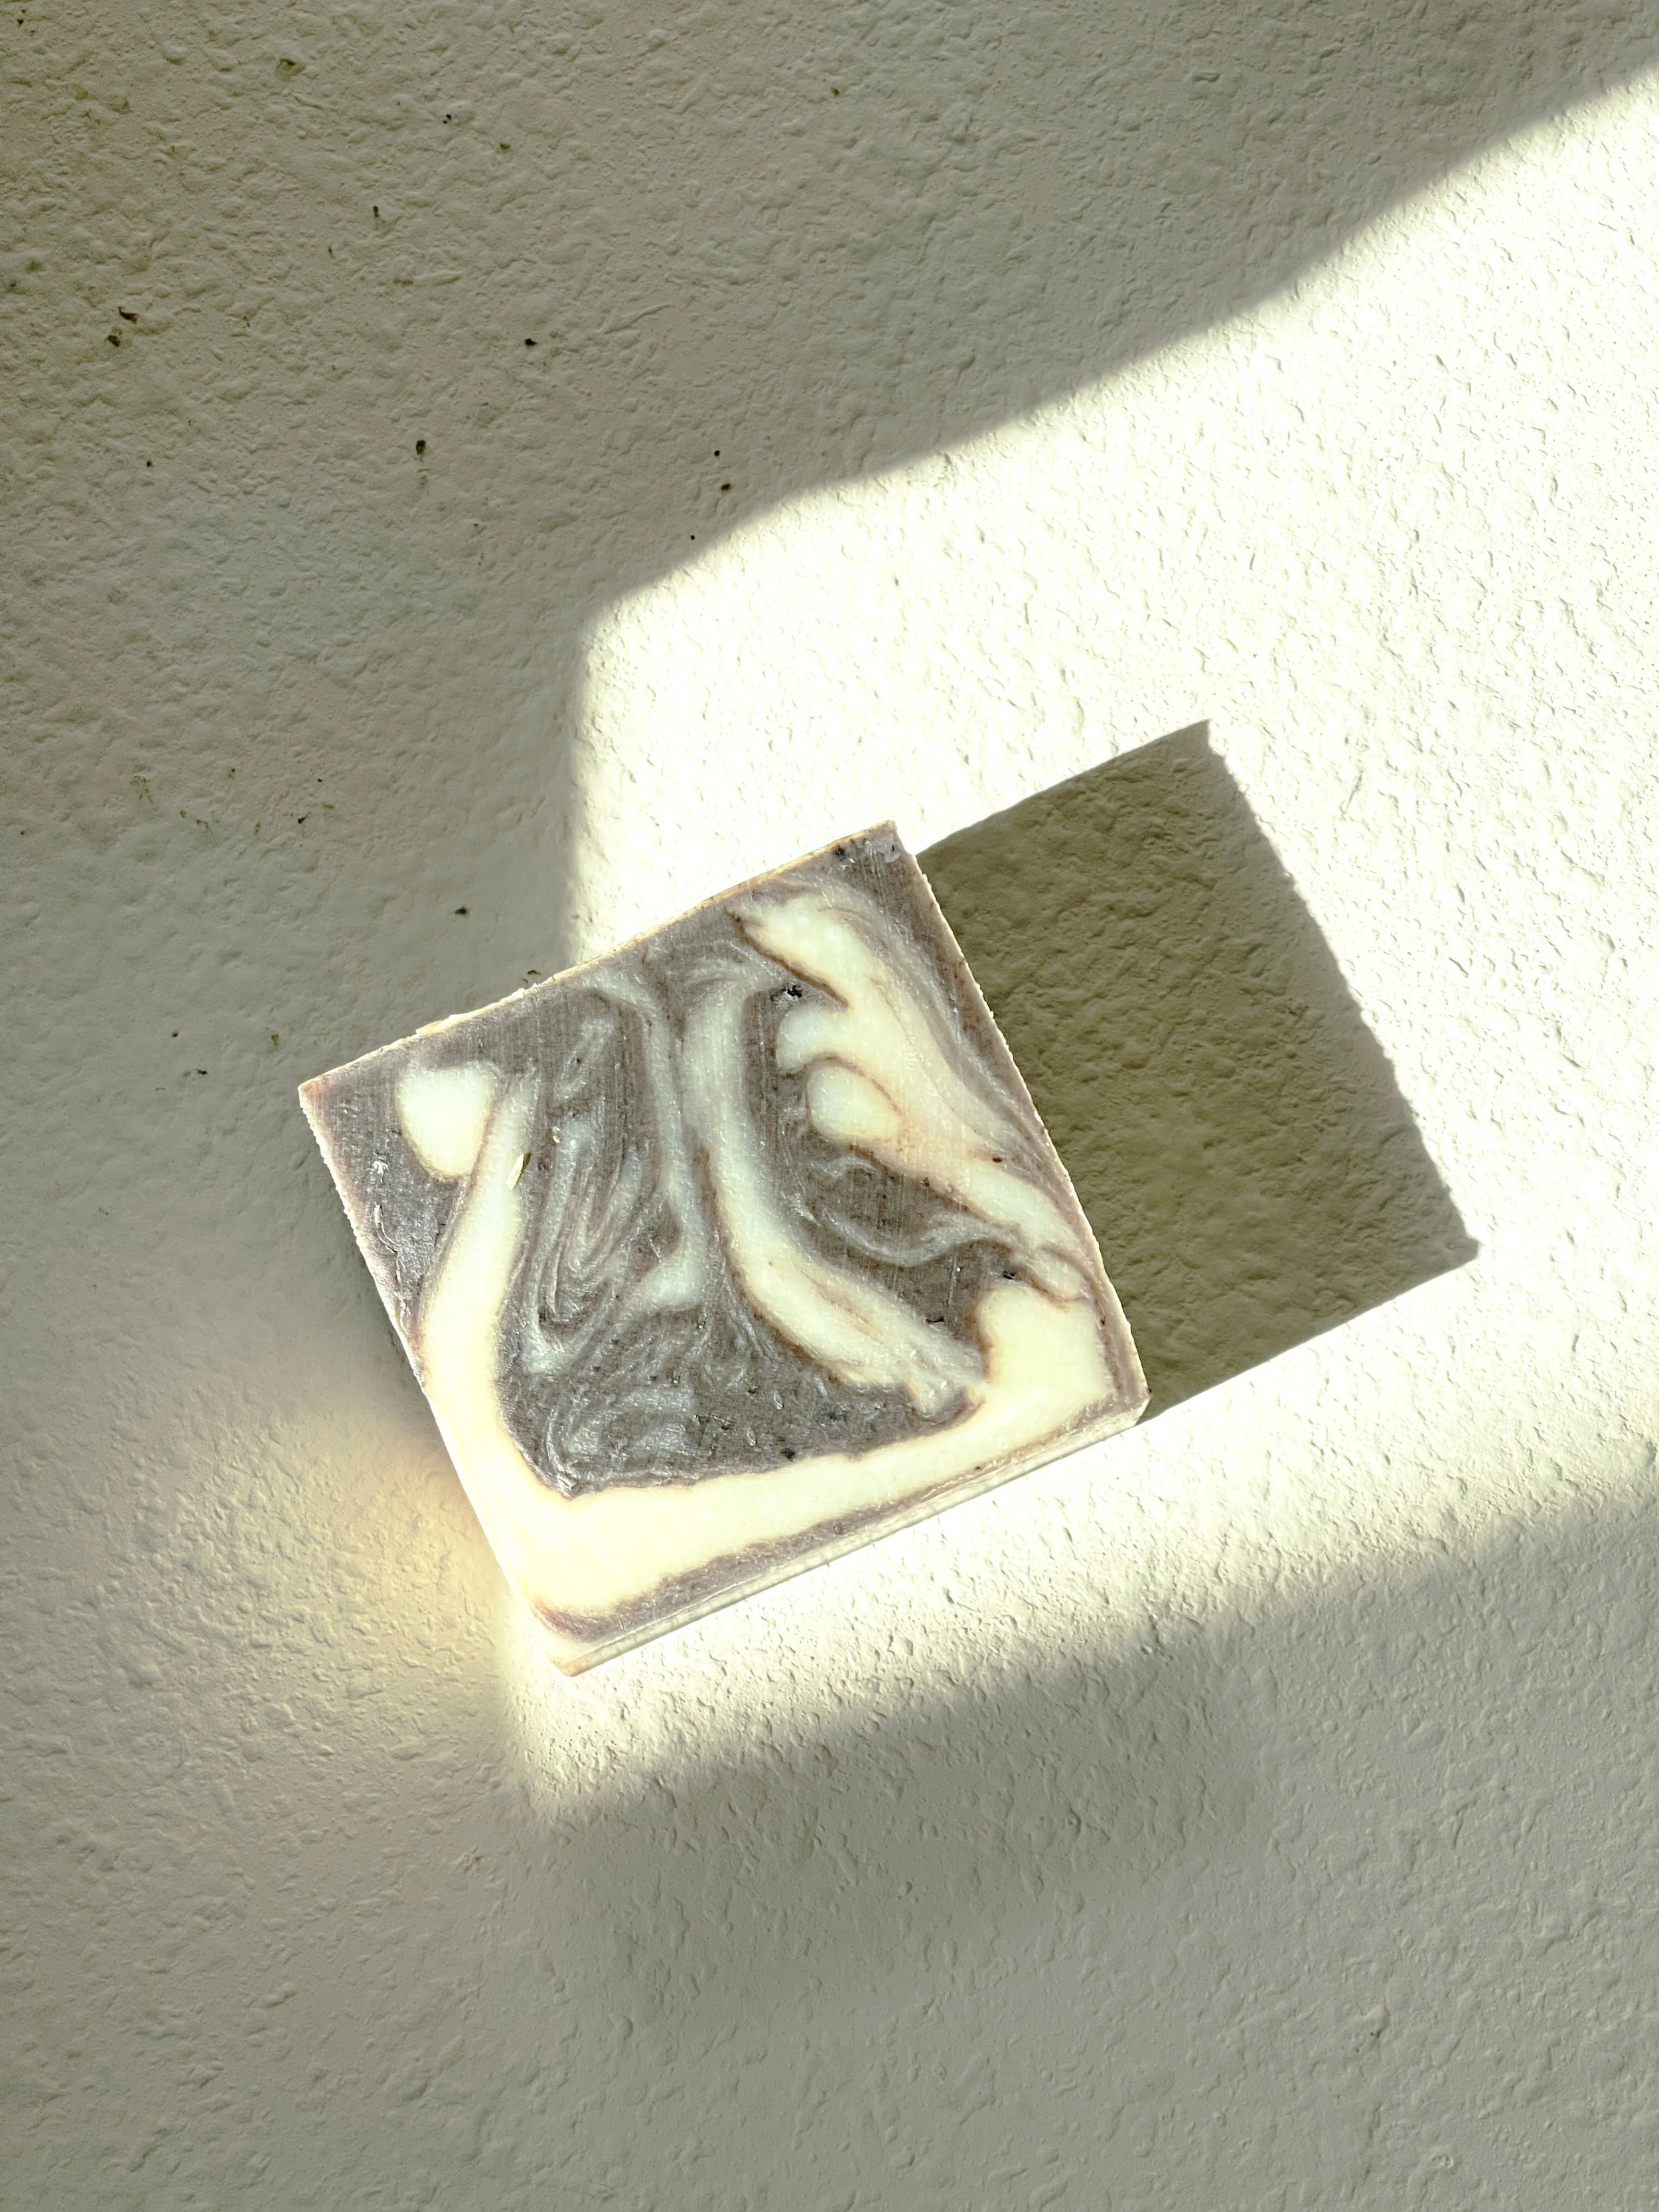
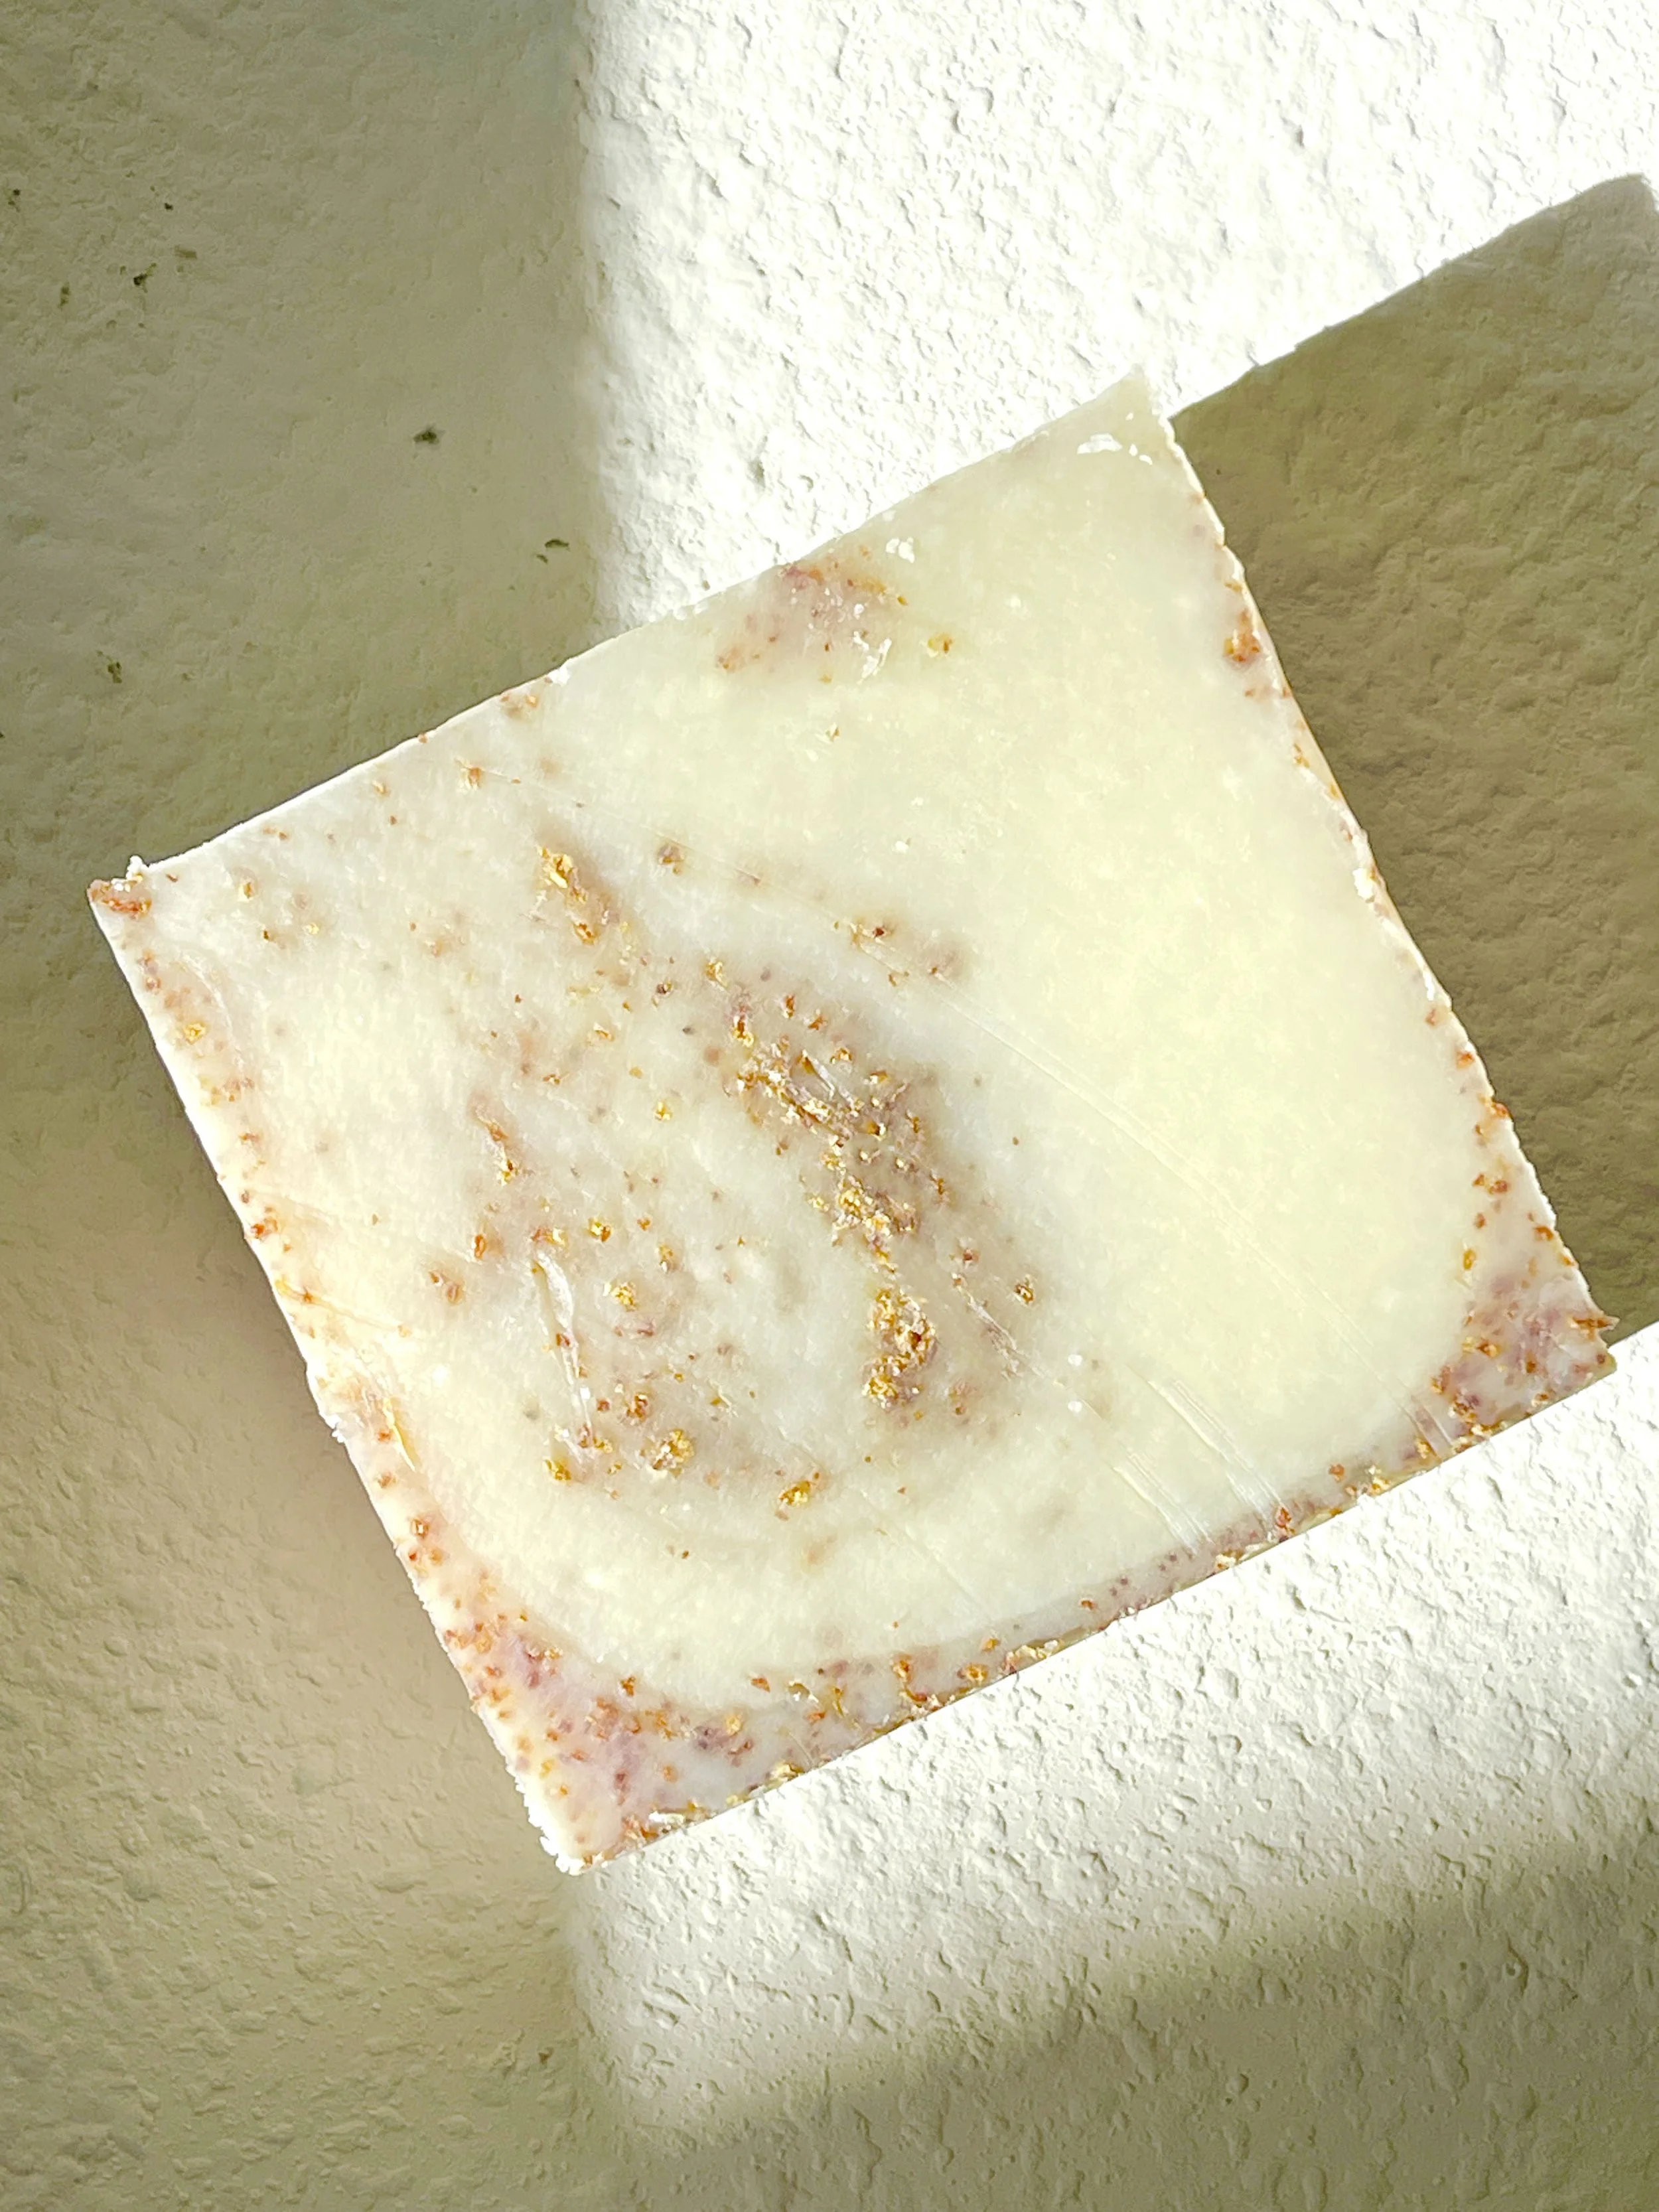
For more intricate bars, like the Massaging Facial Bar and the Rose Clay Bar, the batch is split into multiple portions to keep colors separate. In the case of the macerated Rose Clay Bar, I also layer in the actual berries.
Everything is poured by hand, often using a pancake-batter-style pour to control placement and design.
And again—I have to move fast. If I don’t, the mixture starts to thicken and can get stuck before I’m done.
This is why these bars cost more—they take more time, more precision, and a lot more attention.
For traditional body bars, I pour directly from the large bucket. It’s still heavy work, but much faster and more straightforward.
Once all the molds are filled, I cover them.
This triggers what’s called the gel phase—where the soap heats back up internally. This step enhances both the color and the final feel of the bar.
Then… it rests.
When everything works perfectly the soap looks like this
This is what seized up soap looks like, it gets chunky, heavy and is still hot!
Using pancake batter dispenser for my macerated rose clay face bars
4. Unmolding + Cure
A few days later—unmolding begins.
I use a cutter with piano strings to slice the bars (very satisfying).
If I have a stamp ready (currently working on a new one), I stamp each bar and stack them with space for airflow.
Then they cure.
Four full weeks.
I rotate them regularly to ensure even drying.
Post soap stamping
Post cutting the soap
Prepping Soap for the drying phase
Unmolding Just a Soap Bar
Unmolding macerated berry rose clay soap bar
The Final Result
What you get is a beautifully scented, superfood-rich bar that nourishes and hydrates your skin.
And every single one carries the story of this process.
Next, I’ll show you some of the bars I’ve made over the years… and why I probably don’t make them anymore :)
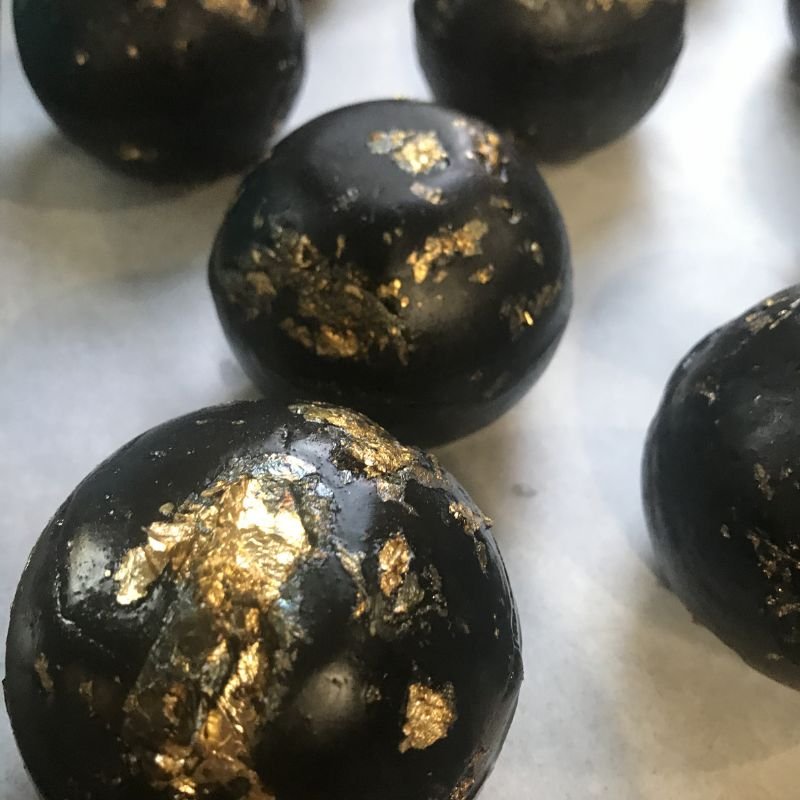
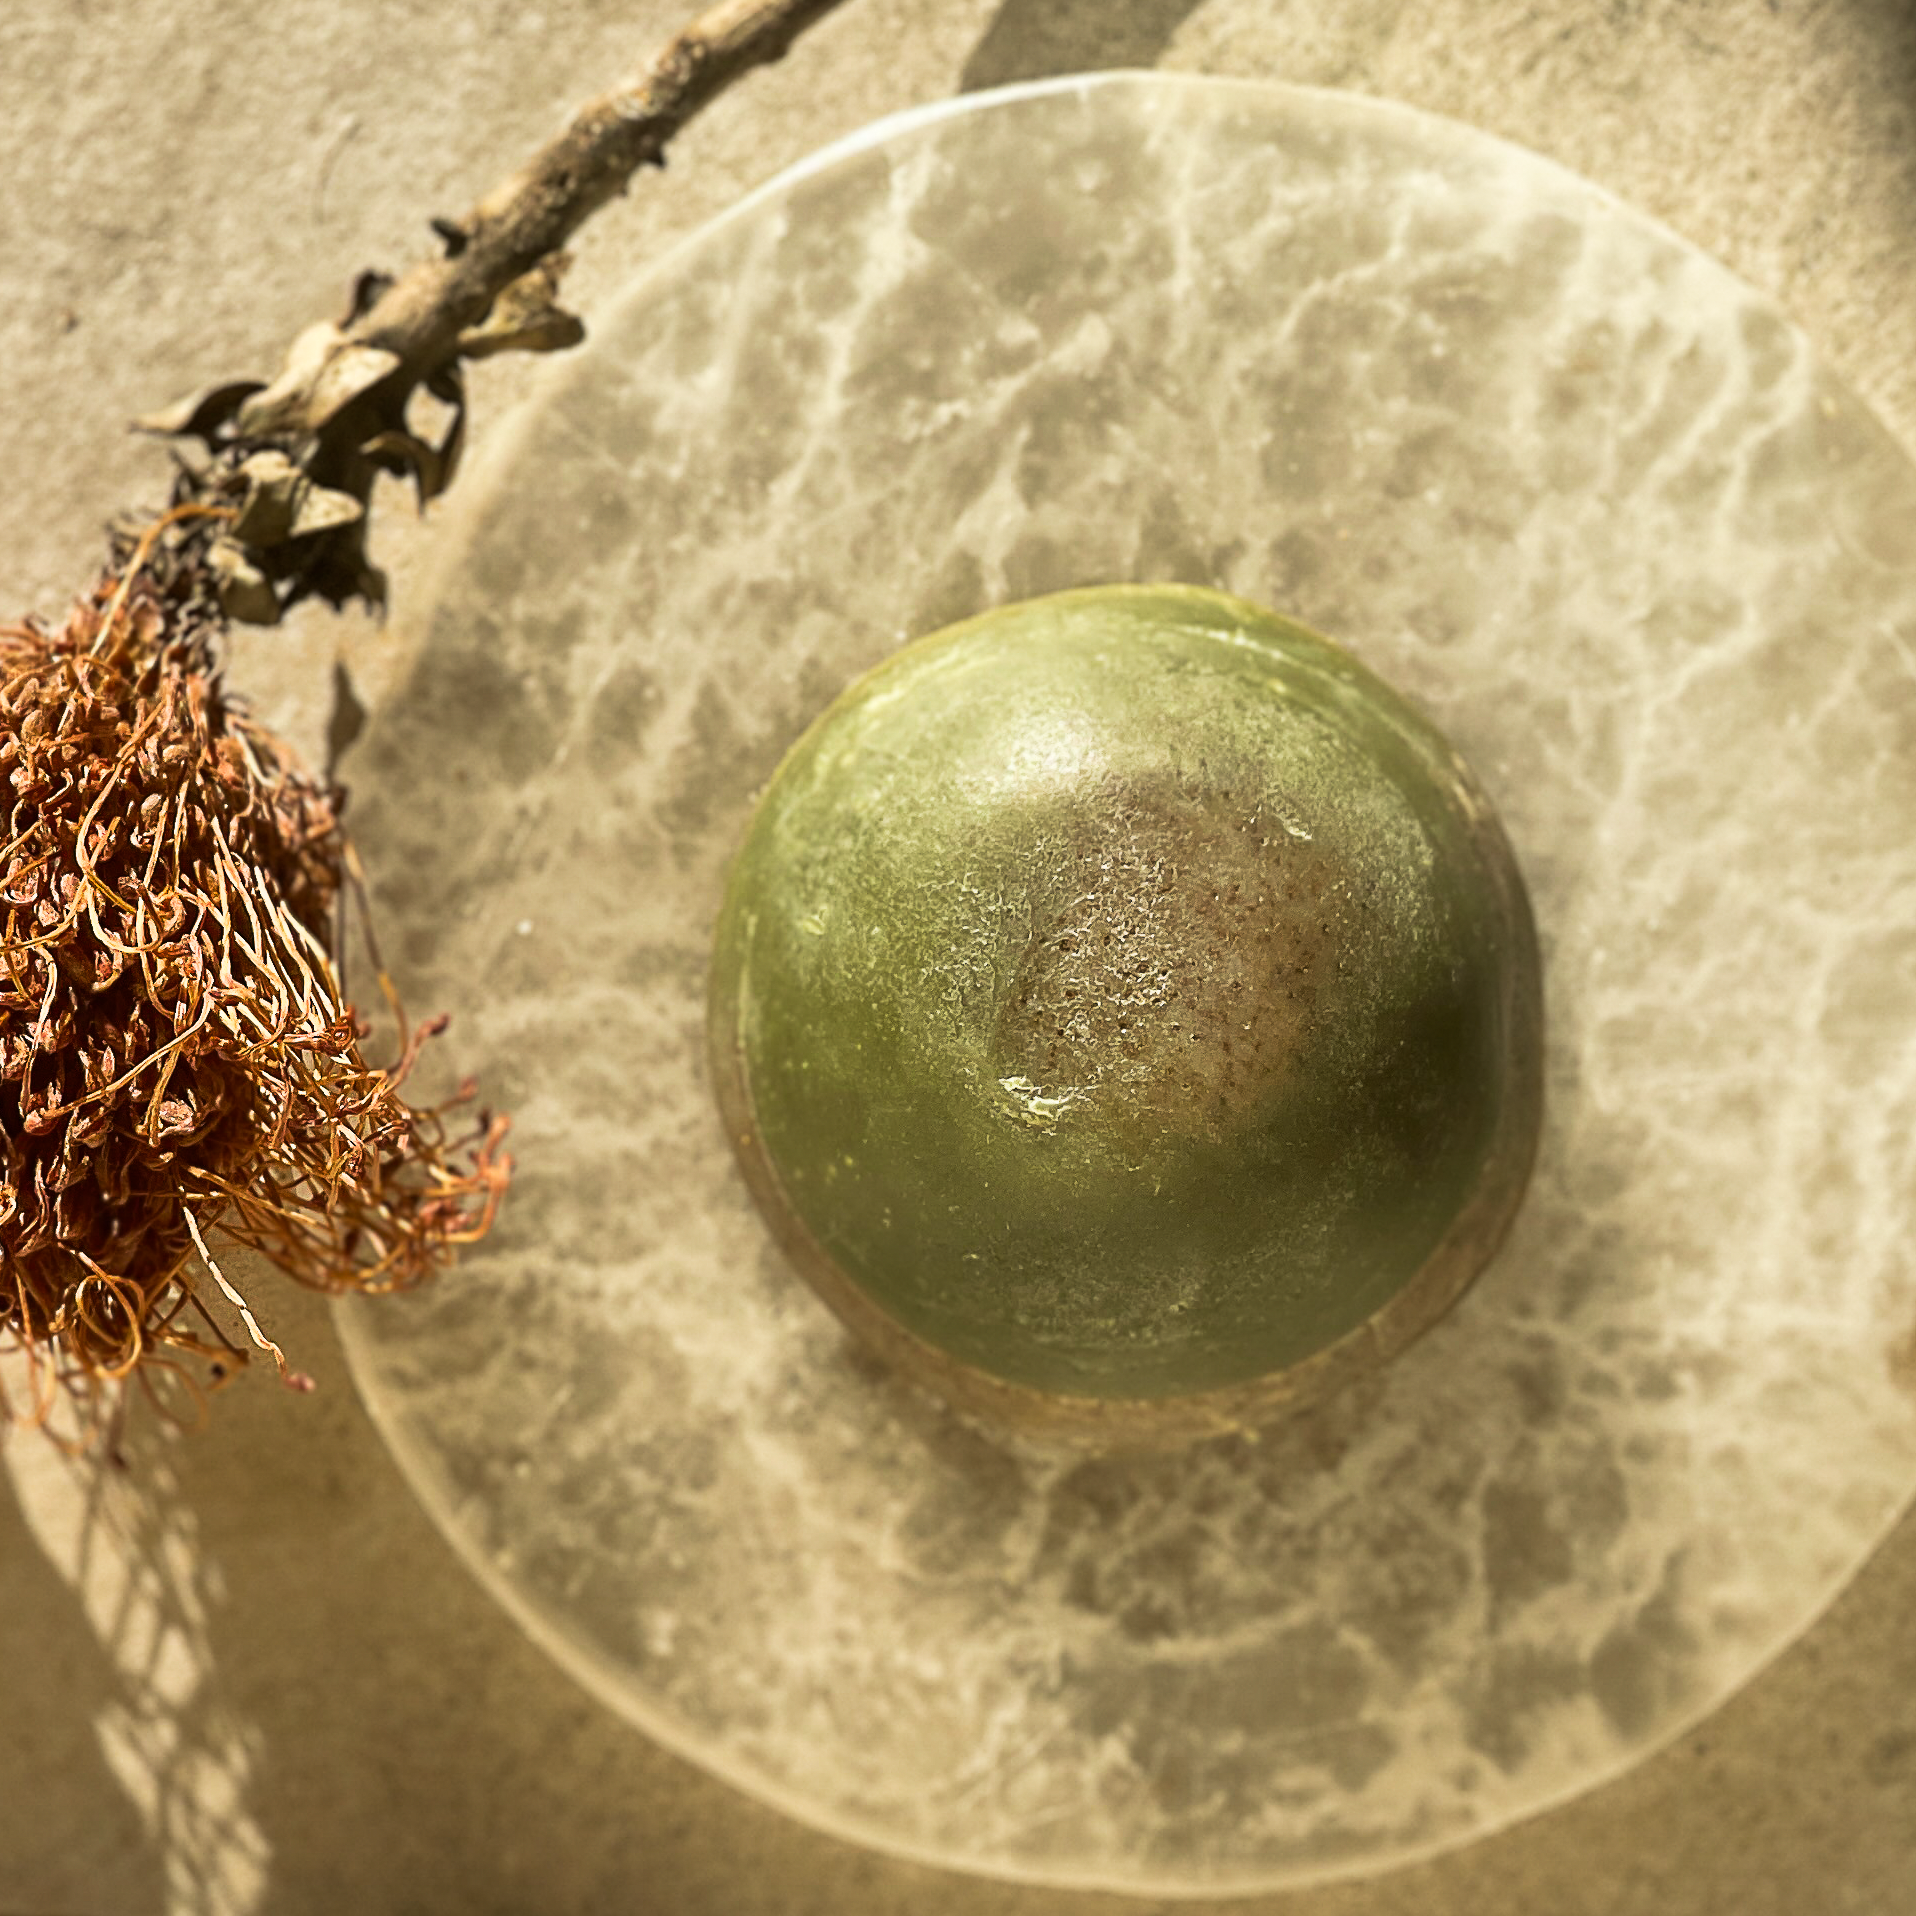
Black and Gold Round Soap
This was drama from the beginning, the moment I tried to recreate the soap, I failed, now I could probably master it, but at what cost!? This bar required two days of just making soap, each half dome bar had to be gently placed on the other half of a dome to make a full circle. This required a steady hand and a miracle, the weight of the soap made the liquid spill out and if I made 24, 4 came out perfect.
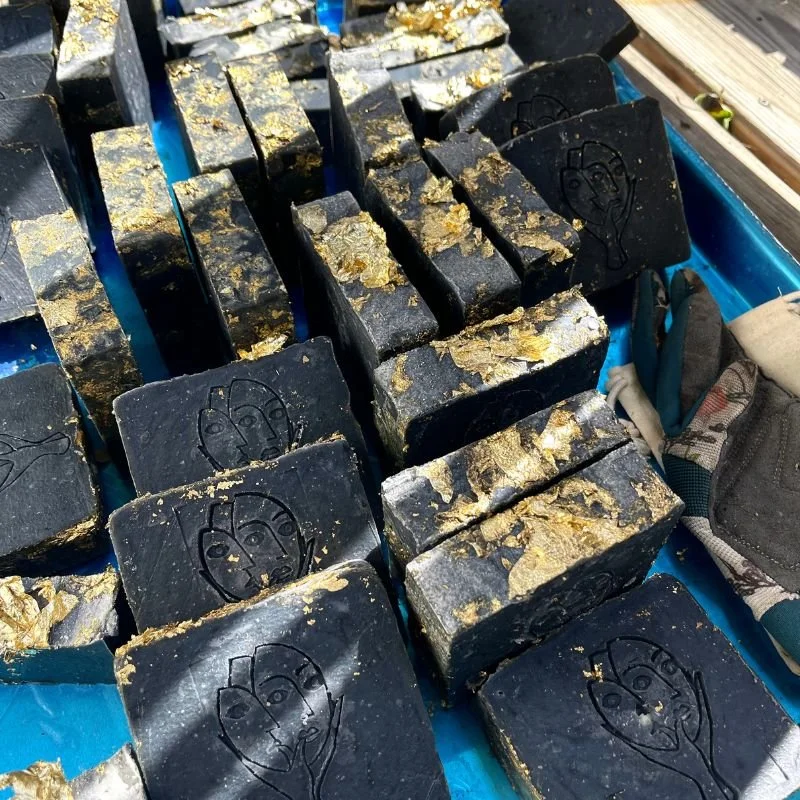
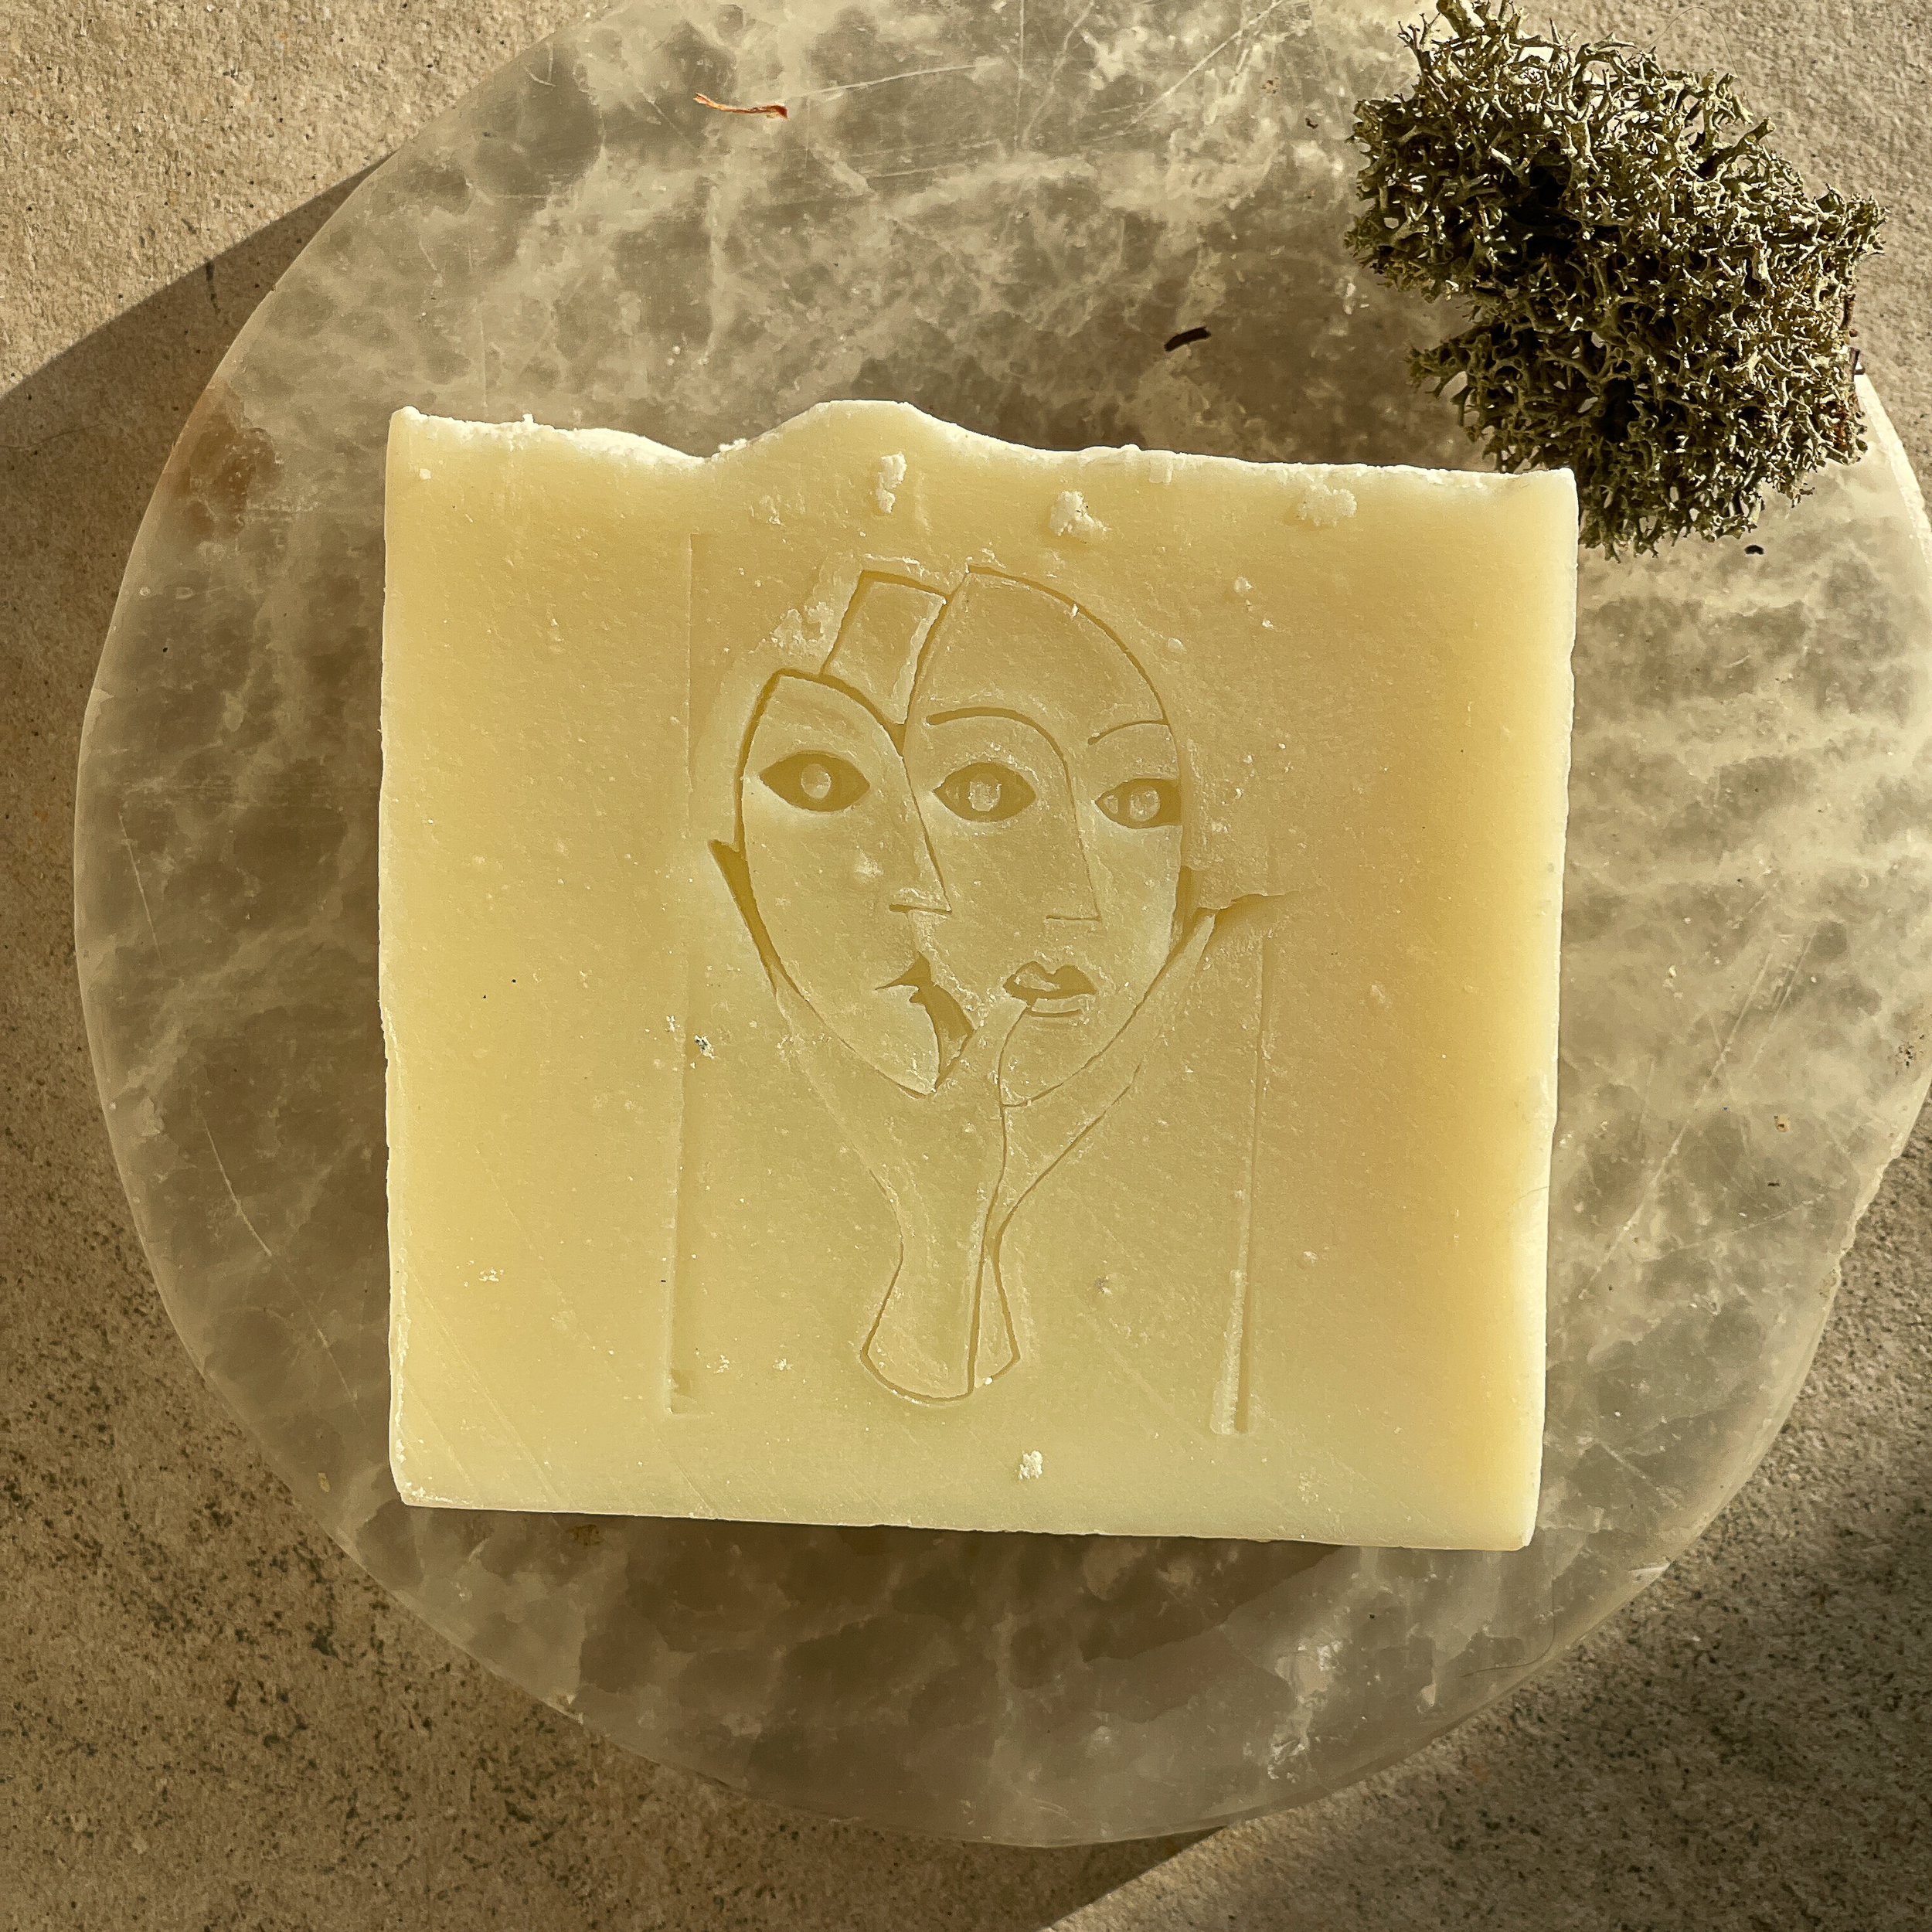
Black and Gold Square soap
Trying to capture the same elements as above, but in an easier square shape, this soap was a hit. Made with 14k gold, Rose Absolute and Violate absolute with activated charcoal, I LOVED making this soap. But the only way I could make it make sense, was to sell it for 35 dollars, which was a bit pricey (even though I sold out). The Absolutes are 100 dollars for a few grams, and even though these essential oils are absolutely dreamy, I decided a limited edition would be best.
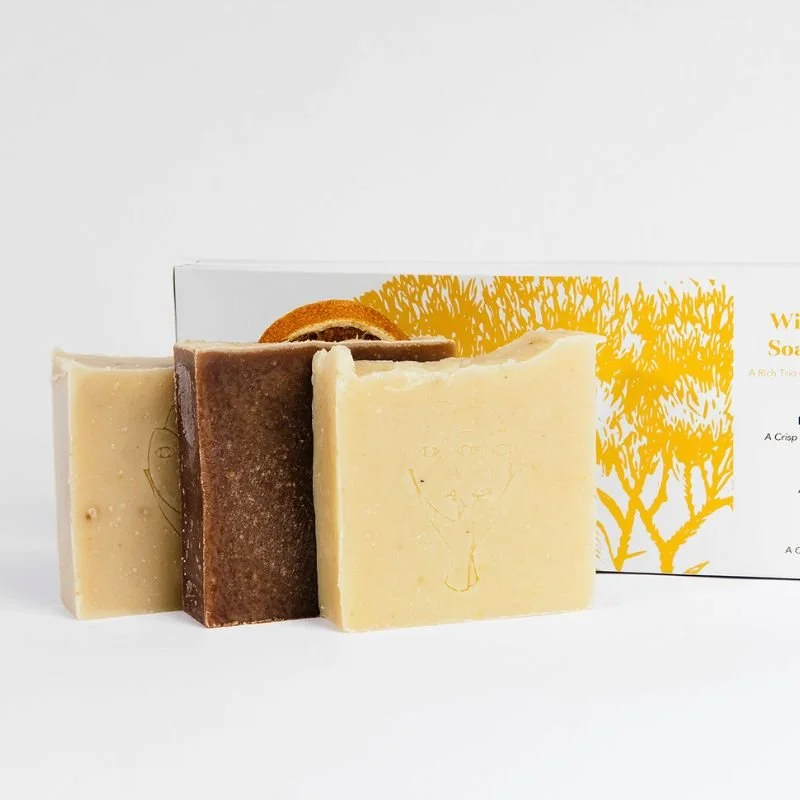
The famous holiday soap trio
These were designed when I had absolutely lofty goals and had ordered, 500 boxes for this product. But the boxes disappointed me from the very beginning, they were too soft and didn’t hold the weight of the soap well. Plus the center soap (Mulled Wine) required me purchasing a case of wine I couldn’t even drink, I then froze the wine in ice cube trays and it added time to the soap making process. Again fabulous but too tedious.
My current soap line up is slowly growing, and based on how everything goes this year, there MAY be a soap of the month club coming, if you guys want one. where you can get your standard favs and plus an additional surprise soap every season. Let me know what you think!